PLDT Home Fiber web interface admin access
Enable web interface admin access for advanced configuration, port forwarding, and more.
Acknowledgements
To our small community that has grown due to the restrictions the ISP has presented to us. Thank you for the efforts and knowledge for this challenge to be completed.
Guide made by HexUltimate for Windows clients link*
With minor changes (9.1).
For Linux clients you can follow console access from the links above to gain console access and follow through the guide from there to here.
Requirements:
Ability to follow instructions properly.
Access to the serial port of the AN5506-04-FA router.
A little bit of patience and a program to communicate through the serial port. The one I used is PuTTY.
A little bit of technical ability. But I tried to be as user-friendly as possible with this tutorial.
A CP2102 USB 2.0 TTL UART module 6 pin serial converter (non-affiliate link), bought from a local online store.
You will also need jumper cables, as they don’t come with the CP2102. I just used the ones from my logic analyzer just laying around.
Risks:
Chances of bricking router if done wrong: 0%, assuming you do not do rm -rf /.
Caution:
If at any time you mess up during this process, the easiest way to start over is by restarting your router by unplugging it. Do not do step 13 if you are not confident that you did everything right. Step 13 is the point of no return! Characters that are highlighted with red are commands and characters that are in bold are keystrokes.
Instructions:
1.) Turn off your AN5506-04-FA router.
2.) Open it up, stick in the serial port cables into the port and the converter itself.
3.) Plug in your converter into your computer and make sure it’s working properly.
3.1.) You might need to install a driver if you use the converter linked by @kbeflo. Driver link: here.
4.) Open up PuTTY, select ‘Serial’, put in the serial line of your converter, in my case it was ‘COM3’, put ‘115200’ as the speed, and click Open. Don’t know what your serial line is? Try COM3 or check Communication Ports in Device Manager. Look for “Silicon Labs CP201x USB to UART Bridge”. The characters enclosed in parentheses beside it are the ones you’re looking for. (For example, “(COM3)”. Use “COM3” as your serial line.)
5.) Double-check to make sure you are avoiding the VCC port like the plague. Otherwise, you might fry your converter as well!
6.) Cross your fingers and hope nothing catches fire. Power up that router!
7.) Immediately you’ll be assaulted by boot-up messages. Wait for the ‘Press Ctrl+C to stop auto-setup’ prompt. You have 2 seconds to do this. Be quick! If you react too slow and missed the prompt, turn your router on and off again to start over.
8.) You should now be in the linux kernel of your router. Evident by it saying ~ #. It’s now waiting commands from its owner, you! (And not PLDT!)
9.) Type this in exactly: cd fhcfg. Press enter.
9.1.) By default the configuration file web_accout_enable is a read only file. Set permissions for that file so we can have write access. Using chmod 755 web_accout_enable.
10.) Type this in exactly: vi web_accout_enable (vi is a text editor and web_accout_enable is the configuration file). Yes, do not try to autocorrect that typo. The file itself is typoed!
11.) We’re only interested in the number 0 there. Ignore the rest of the garbage characters. Press i on your keyboard to enable editing mode.
12.) Press 1 on your keyboard. You can see that the “0” became “10” Delete the “0” by pressing the delete key on your keyboard.
13.) Press Esc to exit editing mode and re-enter command mode. Type this in exactly: :wq. Press enter.
14.) Once you see /fhcfg # again, you can now turn off your router, unplug everything, and place the cover again.
15.) Make sure that the optical cable is unplugged from the router to not get locked out again immediately after turning the router on! Turn the router on after doing this.
16.) Wait for it to finish booting up. Go to your router administrator page http://192.168.1.1/fh and log in with these credentials:
Administrator: adminpldt
Password: 6GFJdY4aAuUKJjdtSn7dC2x
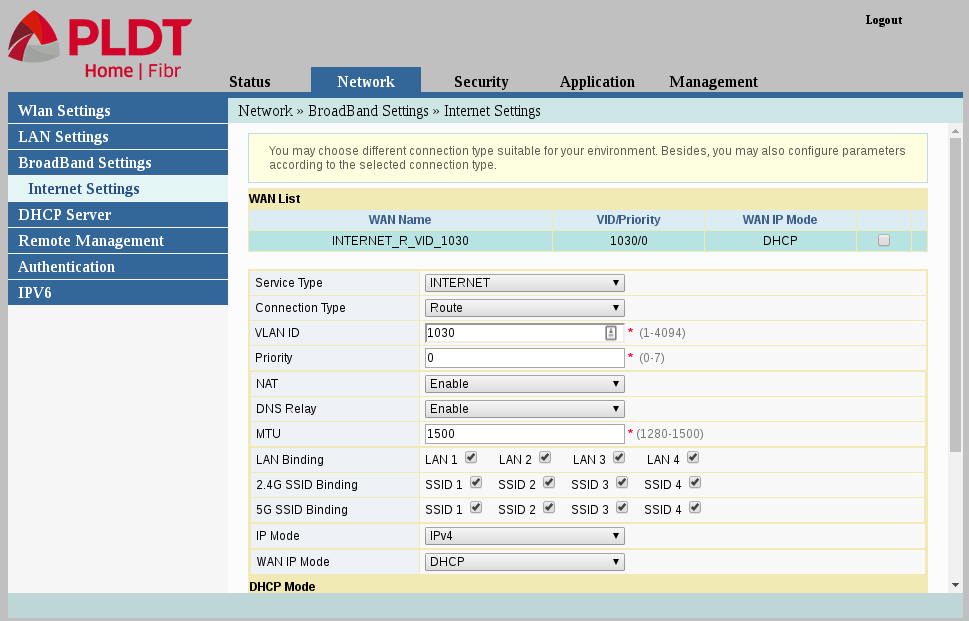
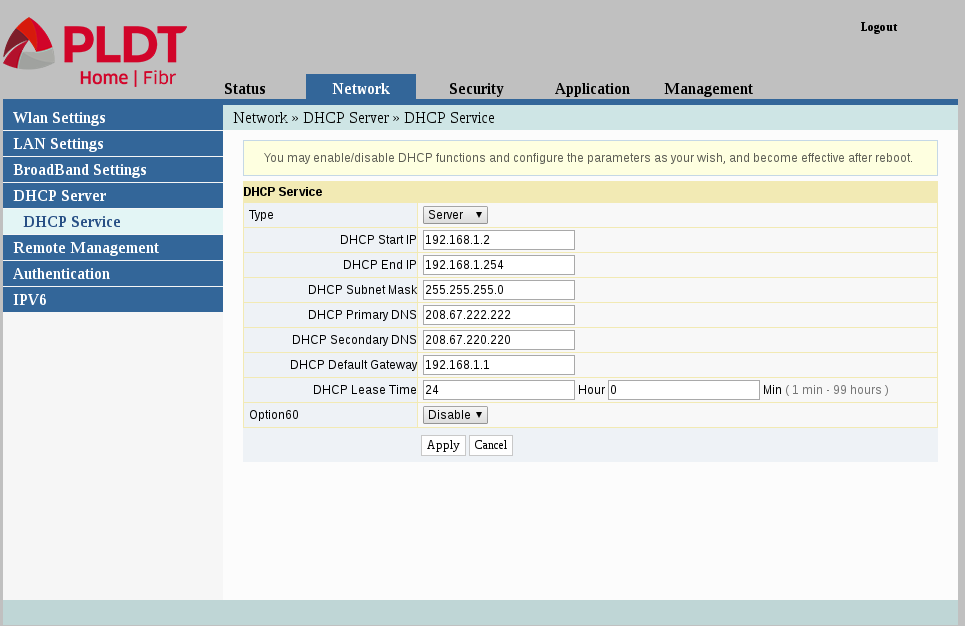
17.) Set everything up the way you like it, free from the control of the hands of PLDT. Go wild!
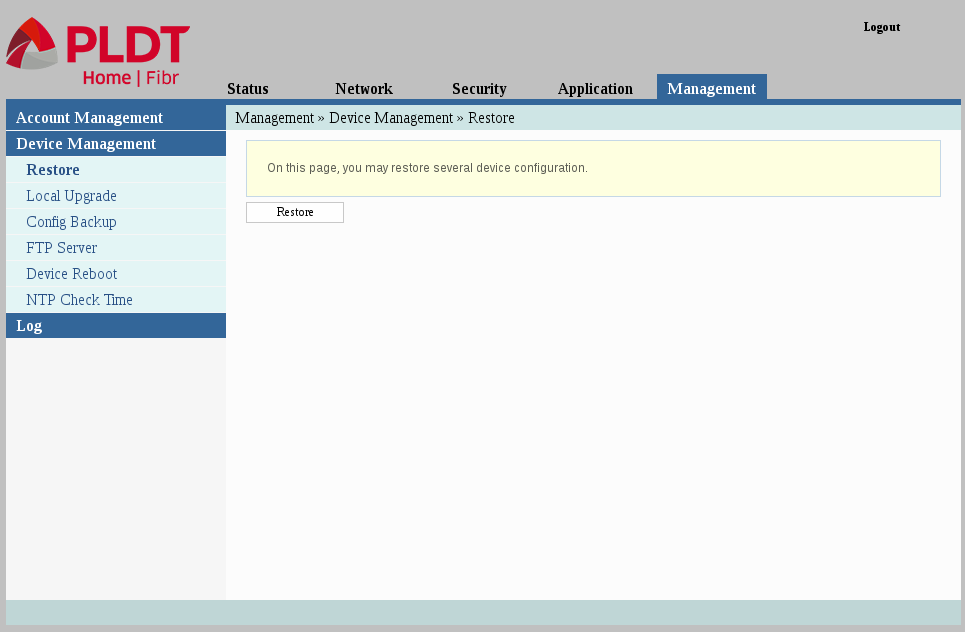
18.) Make sure to disable everything remote control related. TR-069, ACL, Remote access, etc.
19.) Plug in your optical cable again. Expect to get locked out after a few minutes again. Just do this tutorial again if you ever need to regain adminpldt.
20.) Tutorial finished.
Extra anti-update measures for the paranoid, and also prevents you from being locked out again:
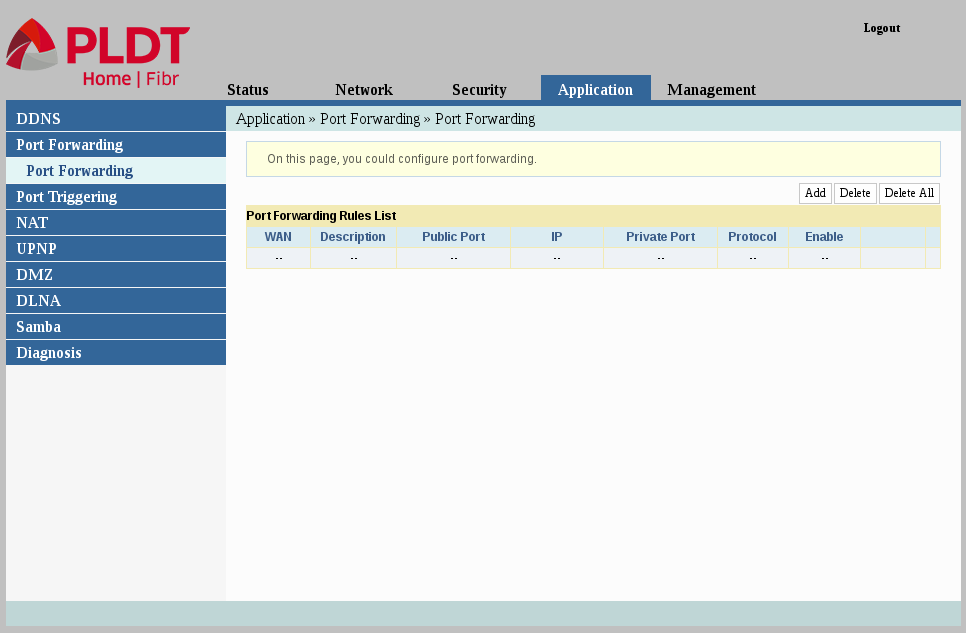
Forward ports 25, 6129, and 7547 to an unused IP address. (May or may not work)
Screenshots